
Image Guidelines
iConfigurator Images
The iConfigurator requires specific image files. Consider your capabilities and review the downloadable templates below to confirm if generating images in-house is the proper route for your company.

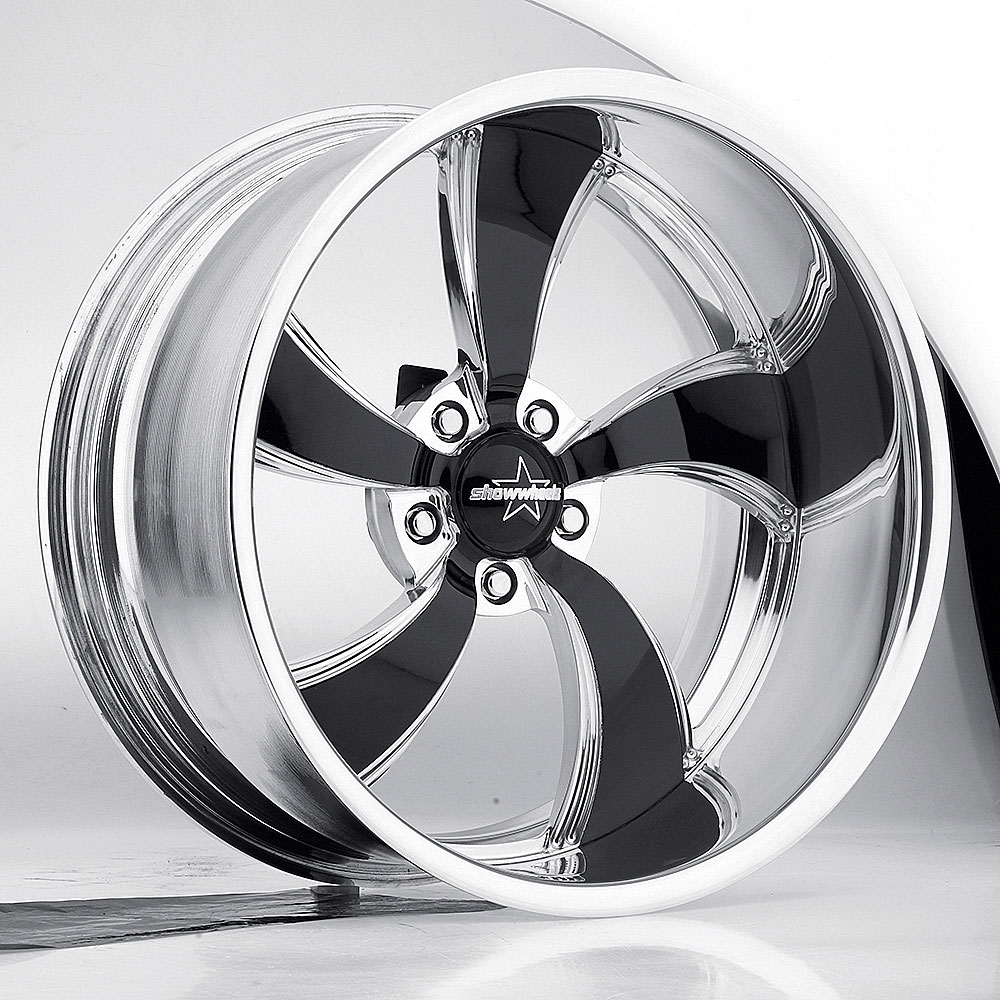
Stock Wheel Image
The standard angle.
('3/4 Angle' for the Front)
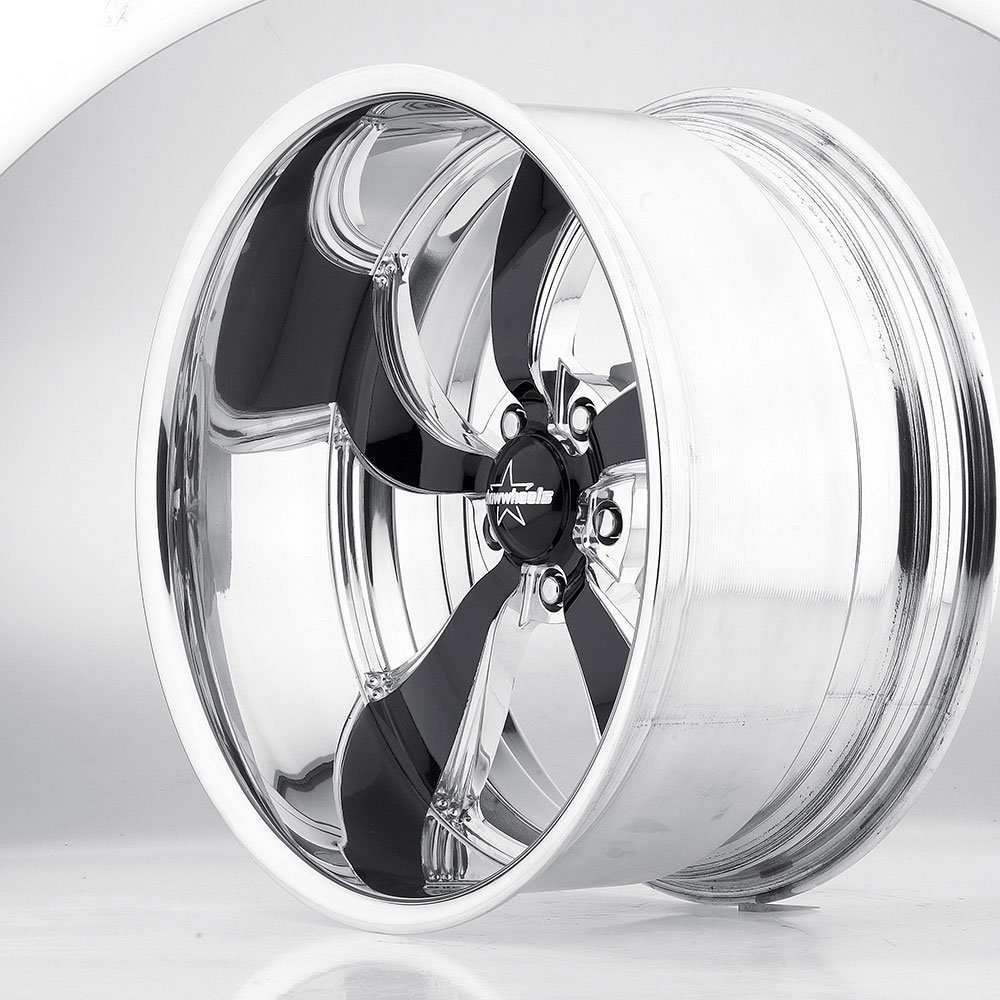
Rear Wheel Vehicle Image
The rear angle.
('Laydown Angle' for the Rear)
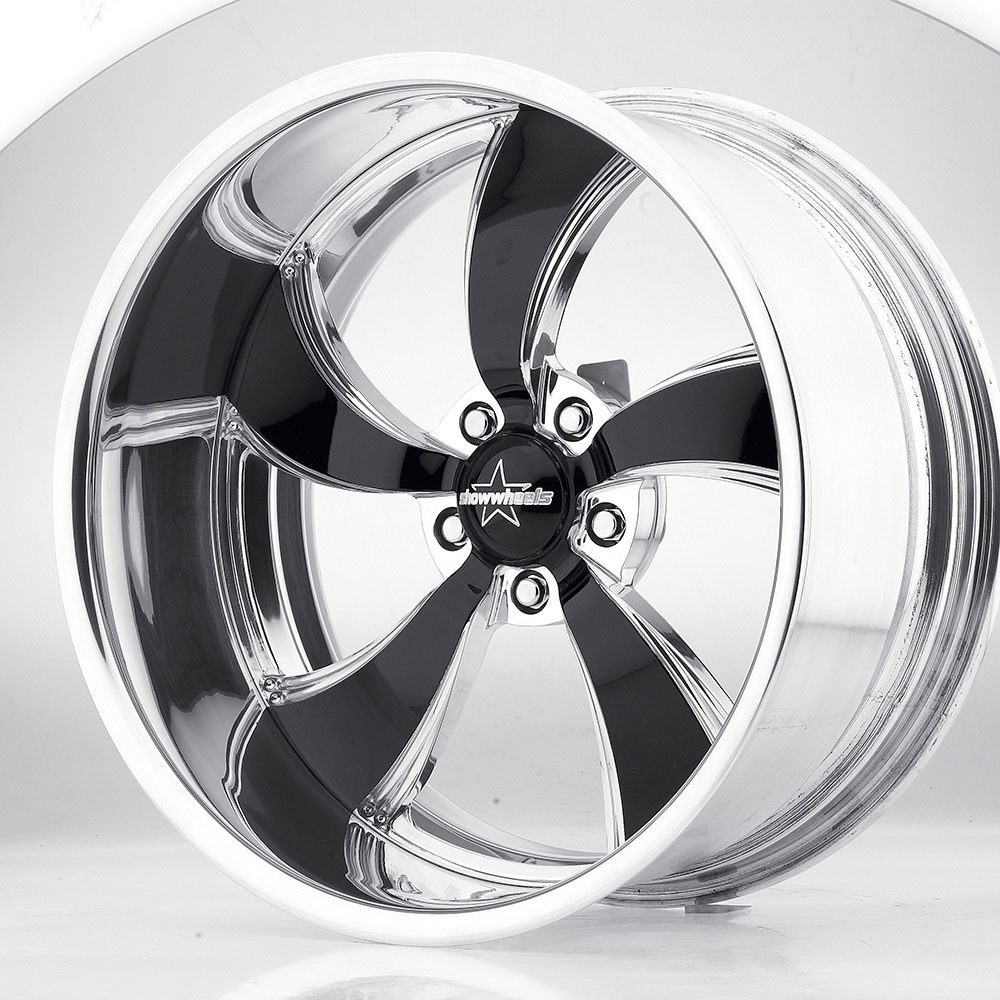
Front Wheel Vehicle Image
The rear angle.
('Laydown Angle' for the Rear)
Photography
The iConfigurators uses two to three wheel images per finish/lug count (i.e., 4, 5, 6, 8). Below are unprocessed photos of those three angles.
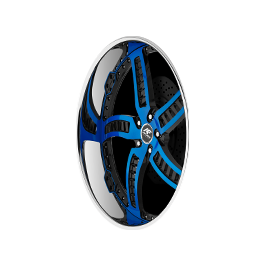
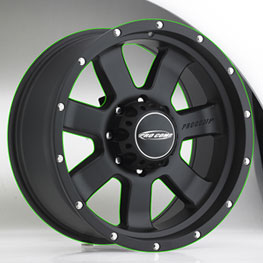
Angle 1
Standard Angle ('3/4 Angle')
Used for the Stock and Front wheel images.
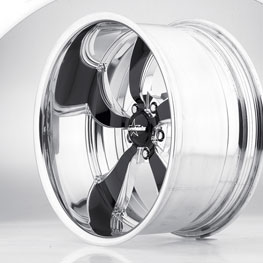
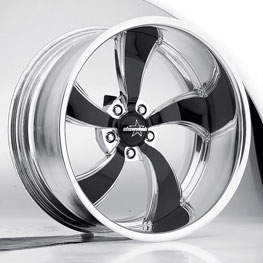
Angle 2
Rear Angle ('Laydown Angle')
Used for the Rear wheel image.

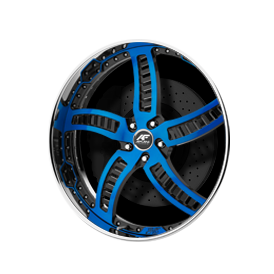
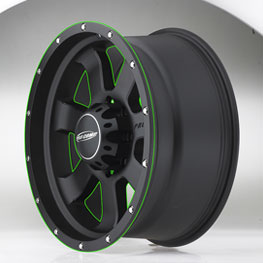
Angle 3 (if nec.)
Reverse Angle ('3/4 Reverse Angle')
For directional & markered Front images.
WHEEL IMAGE ANGLES
iConfigurator requires a 3/4 Angle (Angle 1) for the Stock Wheel Image. That image is then horizontally flipped/reflective and used for the vehicle's Front Wheel Image. If the wheel is directional or marked (has print or engravings on lip, face or spoke) an angle called a Reverse 3/4 Angle (Angle 3) will be need for the vehicle's front wheel. A 'Laydown' Angle (Angle 2) is for the vehicle's rear wheel.
Color Balancing and Leveling
When your company's wheels are a part of the iConfigurator network, they will be seen at times next to other wheel brands/competitors. This is why color balancing is an important consideration. If you produce photography that has a blue or yellowish tint and is next to a competitor's wheel that has been color balanced, your product will be at visual disadvantage. Applying a Auto Levels and/or Auto Balancing action to the image after photography can make a considerable difference. We encourage you to apply more advanced methods until you're satisfied with your results.
Creating Images / Resource Files
Front Vehicle Wheel Clipping
Rear Vehicle Wheel Clipping
Product Image Clipping
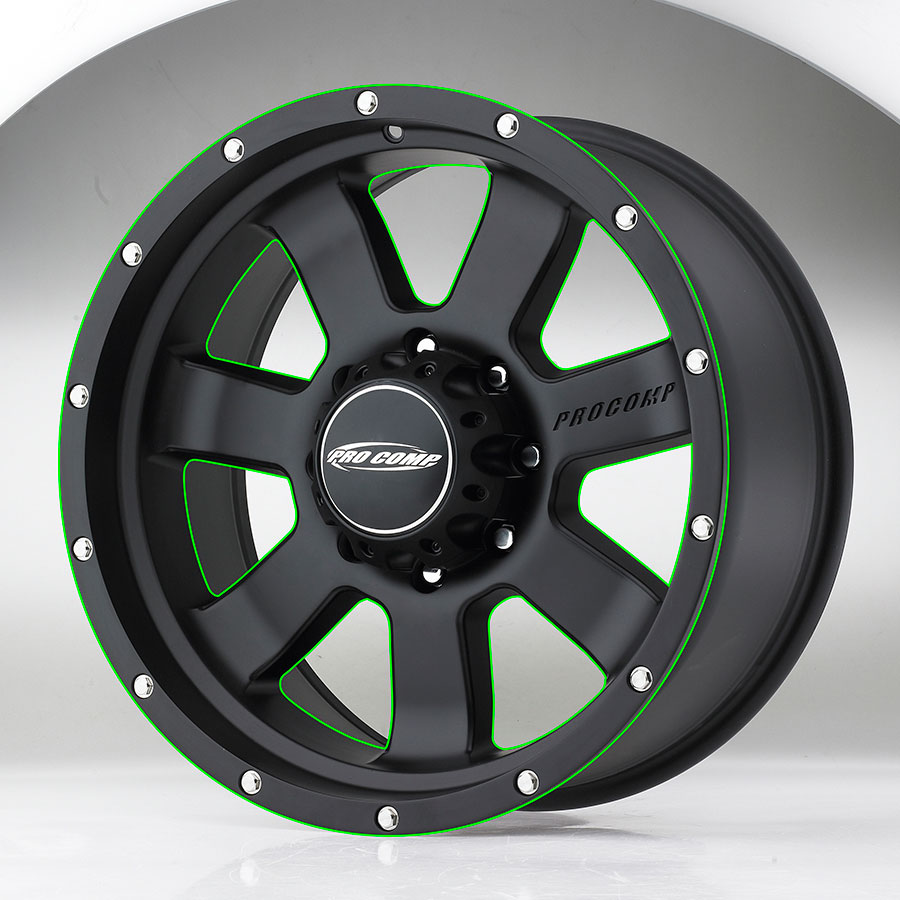
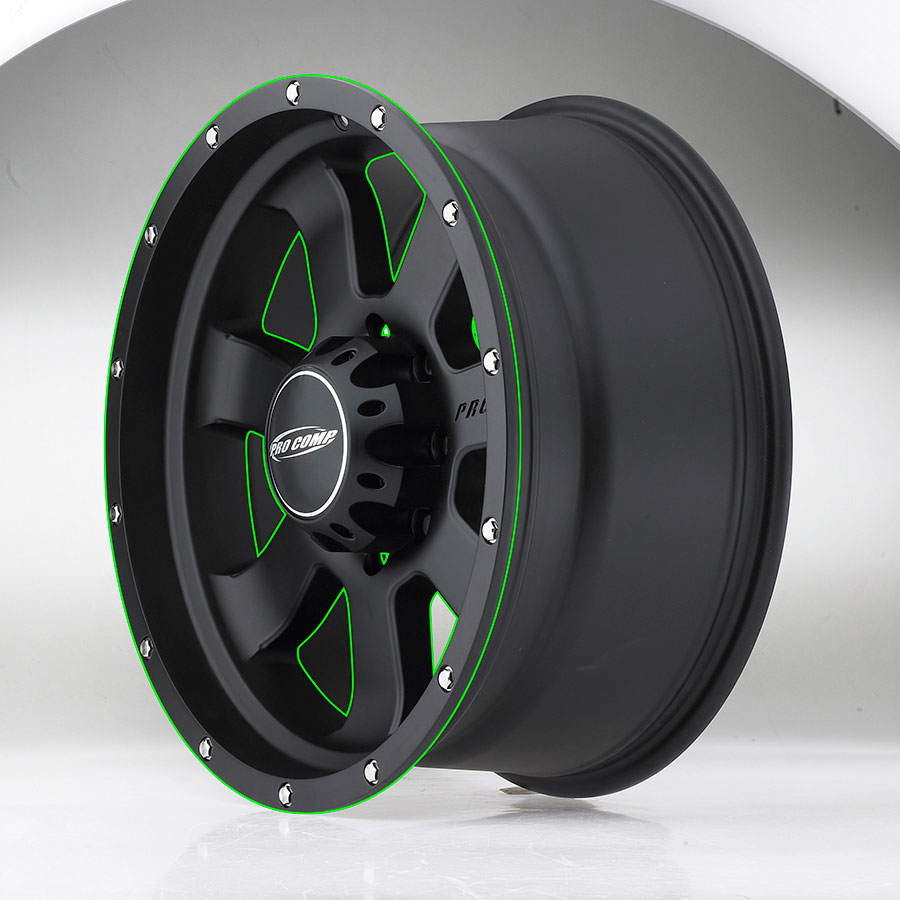
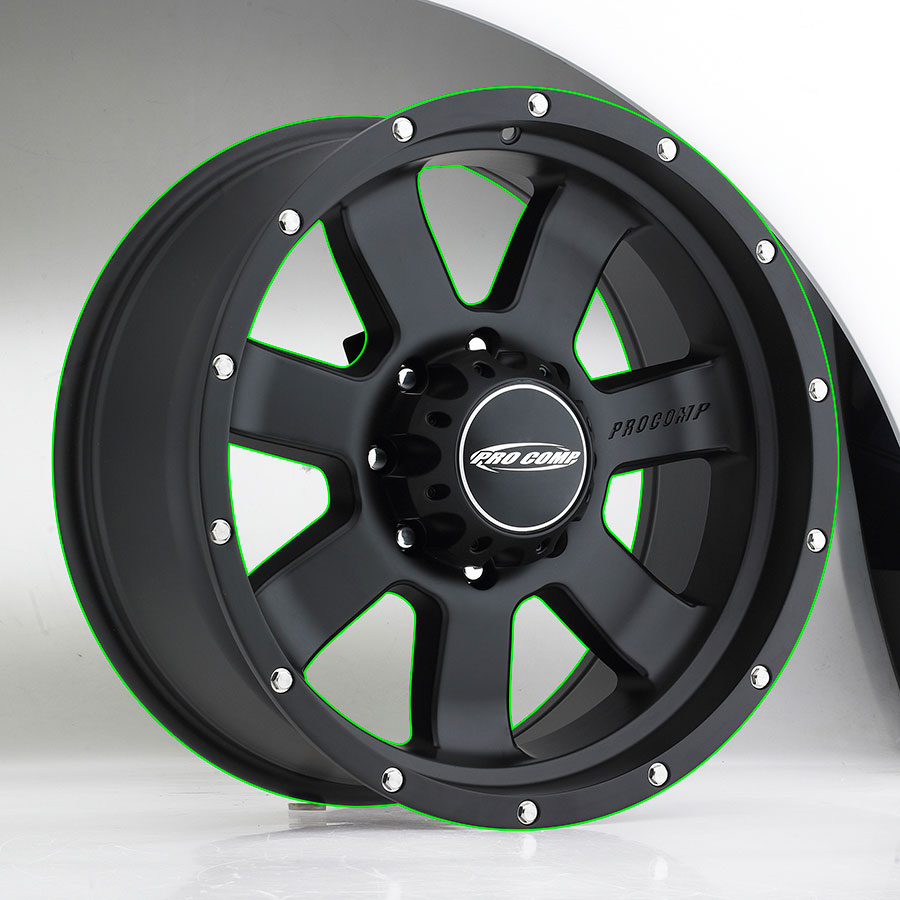
STEP 1 - CLIPPING
iOnce the correct angled photography is produced, the product must be properly clipped for extraction. Images needed for the vehicle placement require clipping to extract the face of the wheel from the inner and outer barrel of the wheel. Stock Wheel Image need a clipping path to extract the wheel as a whole from the background. The green lines in the samples below illustrate the clipping path for each.
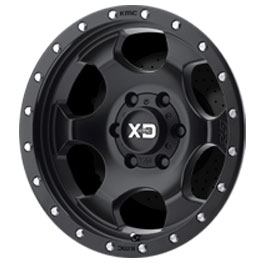
Vehicle Front Wheel
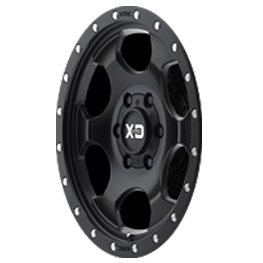
Vehicle Rear Wheel
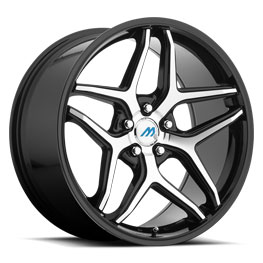
1000px Product Image
Step 2 - Create VEHICLE WHEELS
Once the wheels for vehicle placement are clipped and extracted, download the Vehicle Wheel Templates PSD files provided below. Open the template and familiarize yourself with the layers. Take your extracted wheel face and place it in the Vehicle Wheel Template. Put the extracted wheel face layer in its proper order per the template layers. Size the wheel with a sizing transformation tool so that the wheels edges completely match the template's circular mask shown at the top of the layers. The template also shows a shadow layer that can be placed between the wheel face and the brake background layer. The shadow increases the realistic visual value of your wheel installed on the vehicle. The files are already set to the correct size and PNG format. Name the file (per Formatting instructions below) and save as a transparent PNG. It is now ready for CMS upload.
Step 3 - Create 1000px Product Image
Once the Stock Wheel Image is clipped and extracted. Open the 1000_Stock_Wheel_Template.psd and drag your extracted Stock Wheel image into the template and make the top layer. Use a transform tool to size the wheel per the guides and the sample wheel. You may need to move or increase the height of the shadow using a transform tool. The file is 1000x1000 pixel in size with a transparent background. Save it as a transparent PNG, name file (per Formatting instructions below) and it is ready for CMS upload.
Download Photoshop TemplateFormatting
By dragging in your extracted wheel images into the templates provided, the image size are guaranteed to be correct for upload. All files need to be saved as transparent PNGs with exception of the High Res Stock Image that is save as a JPEG with clipping path.
PARTIAL FILE FORMATTING
If you are just providing clipped photography for processing, please provide your high resolution images as either a clipped JPG or transparent PNG format. JPGs should have 2 clipping paths (whole wheel and face from barrel). PNGs will need 2 images, the stock image and the wheel without the barrel.
FILE NAMING
Files names should have the brand / name of the wheel / finish / size / lug count... in that order.
IMAGE TRANSMISSION
Icon prefers a shared DROPBOX link if possible.